




WELCOME TO VORAIYA
Quick Start Guide – Start Your Guided Flossing Routine
Learn how to deep clean between teeth in under 60 seconds.
LED-Guided
The LED light reveals what you can't see.
3 Smart Modes
Personalized cleaning intensity
Up to 60 Days of Battery Life
No need for daily charging
STAGE 01: UNBOXING & VERIFICATION

 50x Floss Heads
 1x Charging Base
 1x USB-C Cable
 1x Habit Card
 1x Guide Card
 1x User Manual
Everything in the box

1x Voraiya Flosser
 50x Floss Heads
 1x Charging Base
 1x USB-C Cable
 1x Habit Card
 1x Guide Card
 1x User Manual
STAGE 02:GET FAMILIAR

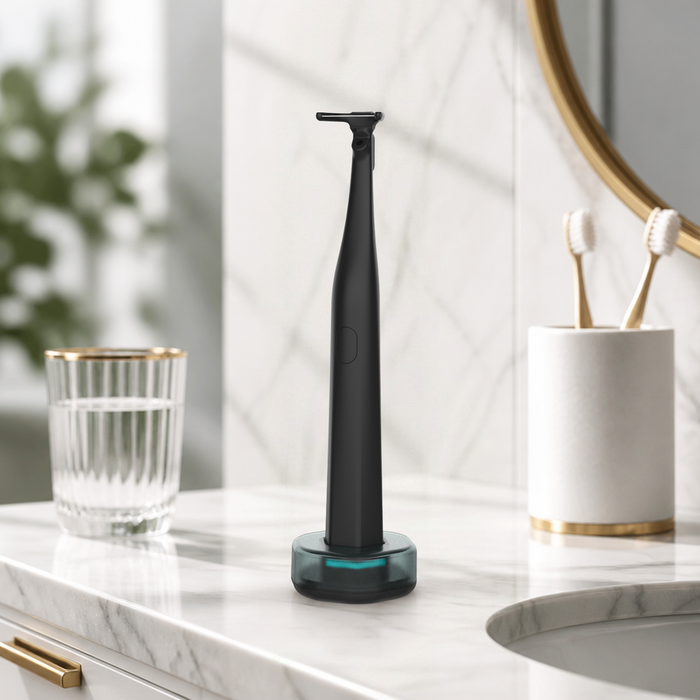
Meet your flosser
Get familiar with the key parts before your first use.

Replaceable Floss Head
Floss-Aligned LED Guidance Light
Textured Soft Bite Pad
Power / Mode Button
Halo Status Ring
Cordless Charging Base
Every button and beam is designed with a single purpose: to take the guesswork out of flossing. This is the guided advantage.

The guided advantage

Visual Targeting
The high-intensity LED beam reveals hidden plaque in blind spots.
Correct Alignment
Simply center the light on the gap for a perfect cleaning angle.
Tracking Confidence
See exactly where you've cleaned, ensuring no molar is left behind.
STAGE 03: PREPARATION Before First Use
Changing floss heads & charging
Floss head replacement
Replace the floss head after each use. Pull the old head straight out and click in a new one.

Push up with your thumb and
press down with your index finger
to rotate one side out.
Charging
Please fully charge the device before first use. Each full charge provides up to 60 days of use.

Place the flosser on the wireless charging base.Connect the USB-C cable to the charging base and a suitable power adapter.
STAGE 04: CORE OPERATION
How to use your flosser in 4 simple steps
1
Turn on and choose your mode
Short press to turn on. Short press again to select a mode. Press and hold to activate the LED light.
2
Guide the floss between your teeth
Place the soft bite pad between your opposing teeth. Bite down gently to help guide the floss between teeth.
3
Floss with confidence
Do not force it. Let the vibration assist, and save tight contacts for last.
4
Rinse your flosser
Turn off the device and simply rinse the IPX7 waterproof handle under the tap.
STAGE 05: EXPERT TIPS & HABITS

28 Days to build a healthier smile
When to use
Use once or twice daily, ideally after brushing.
How long it takes
About 60 seconds is enough for a full clean.
Which mode to choose
Start with the mode1, increase as needed.
For sensitive gums
Use the mode1 and go slowly along the gum line.

TROUBLESHOOTING
Quick troubleshooting
Ensure the battery is charged. Press once to turn on.
Remove and re-attach until you hear a click.
Press the button again after turning it on to cycle through the pressure levels.Start with the lowest pressure setting to build comfort.
SUPPORT
Need more help?
Find answers to more questions about your Flosser and other Voraiya products.
View Full Guide / FAQ


